A solar panel installation diagram serves as a roadmap, visually guiding the connections between panels, batteries, inverters, and electrical systems․ It ensures safety, efficiency, and proper setup, helping planners and installers understand the system layout and wiring requirements․ These diagrams are essential for designing and executing solar energy systems effectively, whether for homes, RVs, or off-grid solutions․
1․1 Understanding the Importance of Diagrams
Solar panel installation diagrams are crucial for ensuring a safe and efficient setup․ They provide a clear visual representation of how components connect, helping installers avoid errors․ Diagrams simplify complex wiring and configurations, making it easier to plan and execute installations․ They also ensure compliance with safety standards and regulations, acting as a blueprint for both novice and experienced professionals to follow․
1․2 Purpose of a Solar Panel Installation Diagram
The primary purpose of a solar panel installation diagram is to provide a detailed, step-by-step visual guide for setting up a solar energy system․ It outlines the connections between panels, inverters, batteries, and electrical components, ensuring a safe and efficient installation․ The diagram helps users plan configurations, understand wiring requirements, and troubleshoot potential issues, making it an indispensable tool for both DIY enthusiasts and professional installers․

Components of a Solar Panel System
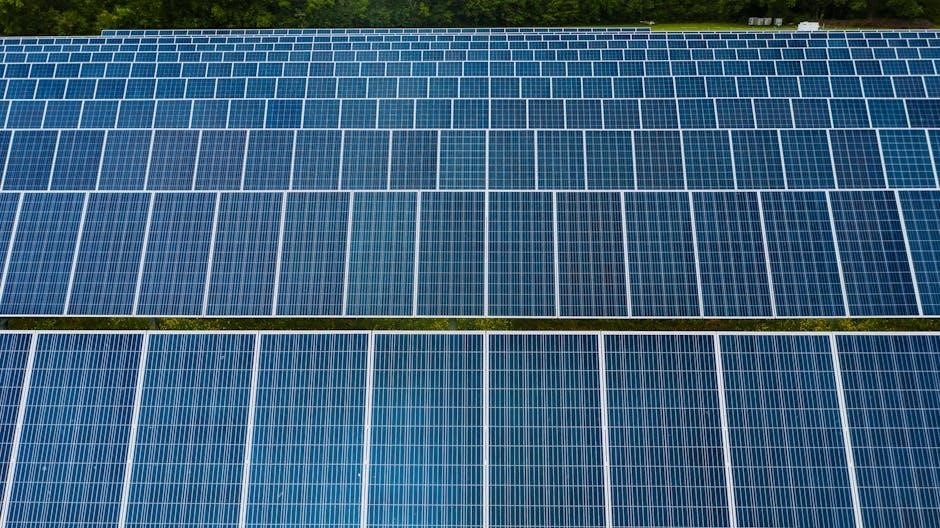
A solar panel system includes photovoltaic panels, inverters, mounting hardware, and wiring․ These components work together to convert sunlight into usable electricity, ensuring efficient energy production․
2․1 Types of Solar Panels
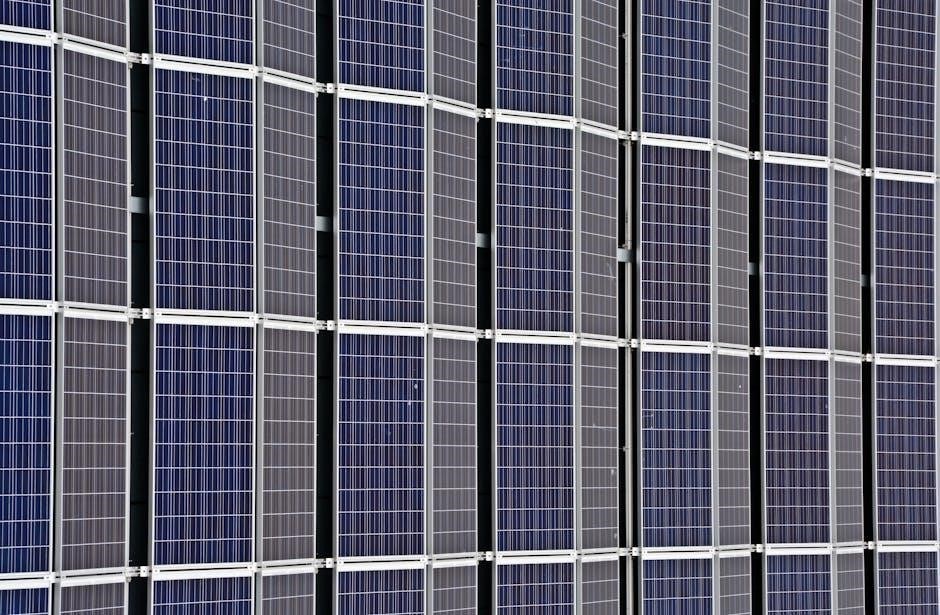
Solar panels come in various types, including monocrystalline, polycrystalline, thin-film, and PERC․ Monocrystalline panels are highly efficient and space-saving, ideal for residential use․ Polycrystalline panels are cost-effective and suitable for larger systems․ Thin-film panels are lightweight and flexible, often used for unique installations․ PERC panels offer advanced efficiency․ Each type has distinct advantages, catering to different energy needs and installation requirements․
2․2 Inverters and Their Role
Inverters are essential components that convert DC power from solar panels into AC electricity for household use․ They optimize energy output, monitor system performance, and ensure compatibility with grid standards․ Types include string inverters, microinverters, and hybrid inverters, each suited for different system sizes and configurations․ Inverters also provide safety features like surge protection and ground fault detection, ensuring reliable and efficient energy conversion for solar panel systems․
2․3 Mounting Hardware and Structures
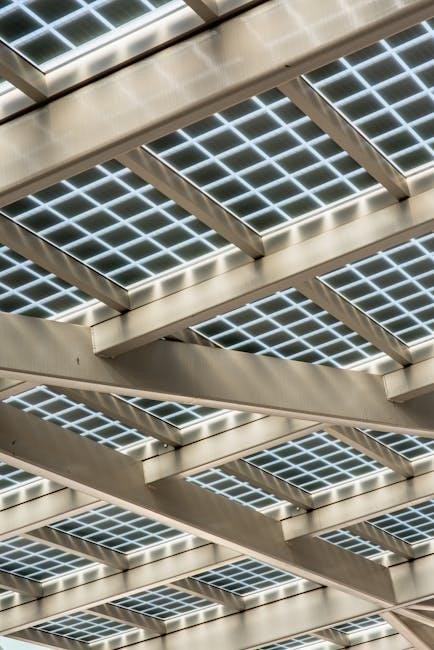
Mouting hardware ensures solar panels are securely fastened and angled for maximum energy absorption․ Fixed tilt racks and adjustable tilt racks are common, allowing optimal alignment with sunlight․ Roof-mounted and ground-mounted systems are popular choices․ Proper installation of mounting structures is critical for system stability and efficiency, ensuring panels endure weather conditions and maintain performance over time․ Durable materials and precise alignment are key for long-term reliability․
2․4 Wiring and Electrical Components
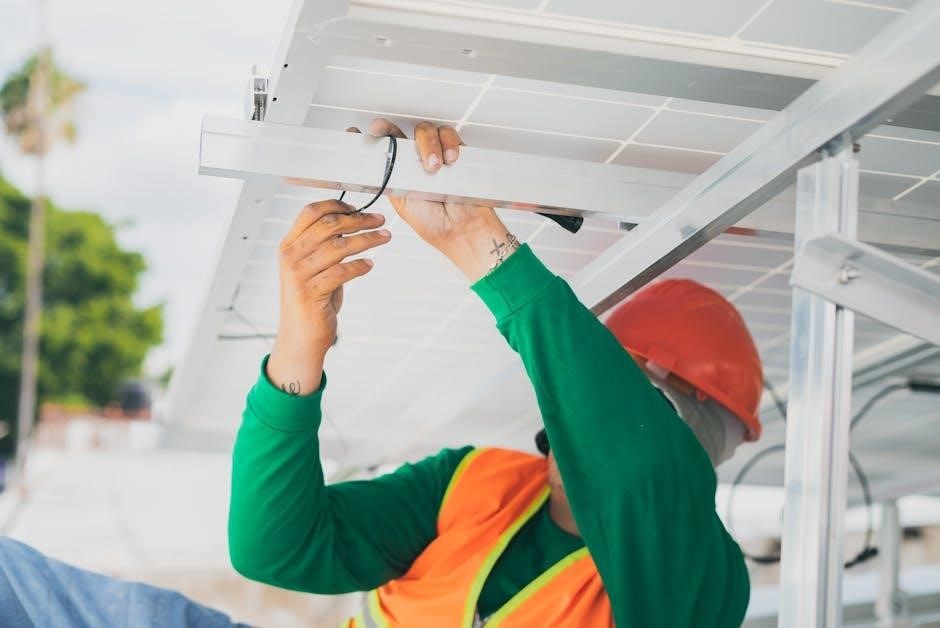
Wiring and electrical components are crucial for safe and efficient energy transfer․ Solar panels connect to inverters, batteries, and electrical grids through high-quality cables․ Proper wiring ensures maximum energy conversion and minimizes power loss․ Components like junction boxes, fuses, and circuit breakers protect the system from overcurrent and short circuits․ Correct installation and insulation of wiring are essential for longevity and safety, preventing hazards like electrical shocks or fires․
Solar Panel Wiring Diagrams Explained
Solar panel wiring diagrams provide a visual representation of connections between panels, battery, inverter, and electrical systems, ensuring safe and efficient energy transfer․
3;1 Reading and Interpreting the Diagram
Reading a solar panel wiring diagram involves identifying components like panels, inverters, and batteries․ Symbols represent each part, while lines show connections․ Color coding differentiates positive and negative wires․ Understanding the flow of energy from panels to the inverter and battery ensures proper installation․ The diagram guides series or parallel wiring configurations and helps troubleshoot issues․ It’s essential to follow the layout for safety and efficiency, ensuring all connections align with the system’s design․
3․2 Series vs․ Parallel Wiring Configurations
Solar panels can be wired in series or parallel configurations․ Series wiring increases voltage while maintaining current, ideal for high-voltage systems․ Parallel wiring maintains voltage but increases current, suitable for low-voltage applications․ Series setups are prone to single-point failures, while parallel offers redundancy․ Diagrams help visualize these configurations, ensuring proper energy flow and system optimization․ Understanding both setups is crucial for designing efficient and reliable solar energy systems․
3․3 Case Study: Typical Wiring Setup
A typical solar wiring setup involves connecting panels in a combination of series and parallel configurations to optimize voltage and current․ For example, a 400-watt Renogy system might use two panels in series to achieve 24V, then connect multiple strings in parallel to increase current․ This setup ensures compatibility with inverters and charge controllers, maximizing energy output․ Diagrams illustrate how panels, inverters, and batteries integrate, ensuring safe and efficient energy flow․
Step-by-Step Installation Process
Solar panel installation involves planning, mounting panels, and connecting electrical components․ It requires careful site assessment, secure mounting, and precise wiring to ensure safety and efficiency․
4․1 Planning and Assessing the Site
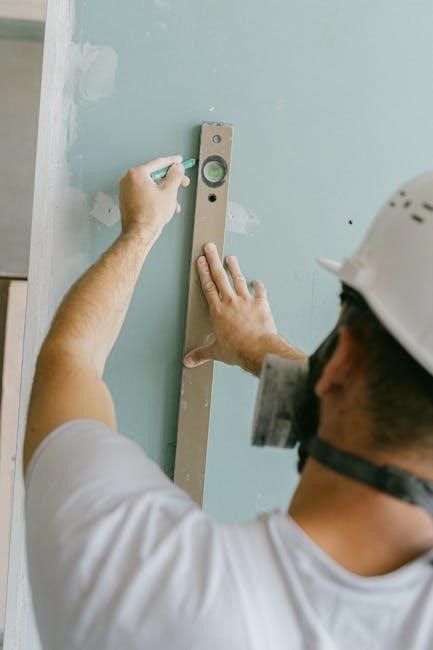
Planning and assessing the site is crucial for a successful solar panel installation․ Evaluate the location for sunlight exposure, shading, and structural integrity․ Ensure compliance with local regulations and electrical codes․ Determine the optimal orientation and tilt for maximum energy efficiency․ Assess the load-bearing capacity of the roof or mounting structure to ensure it can support the weight of the panels and hardware․ This step ensures a safe and efficient installation process․
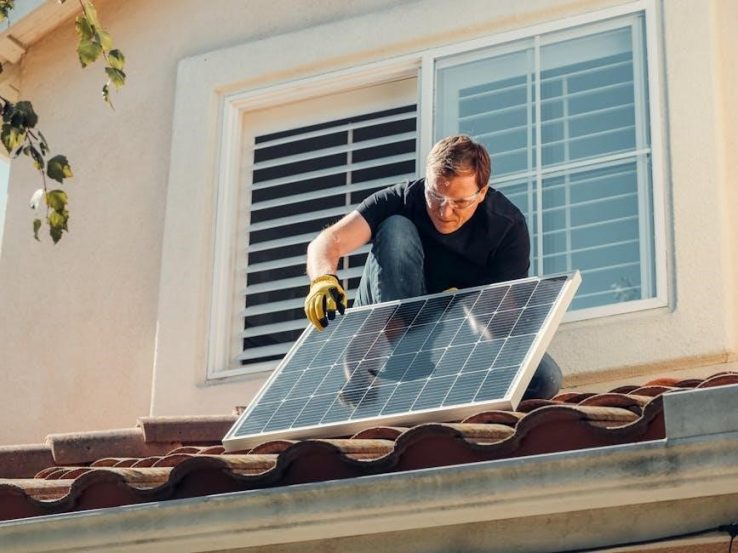
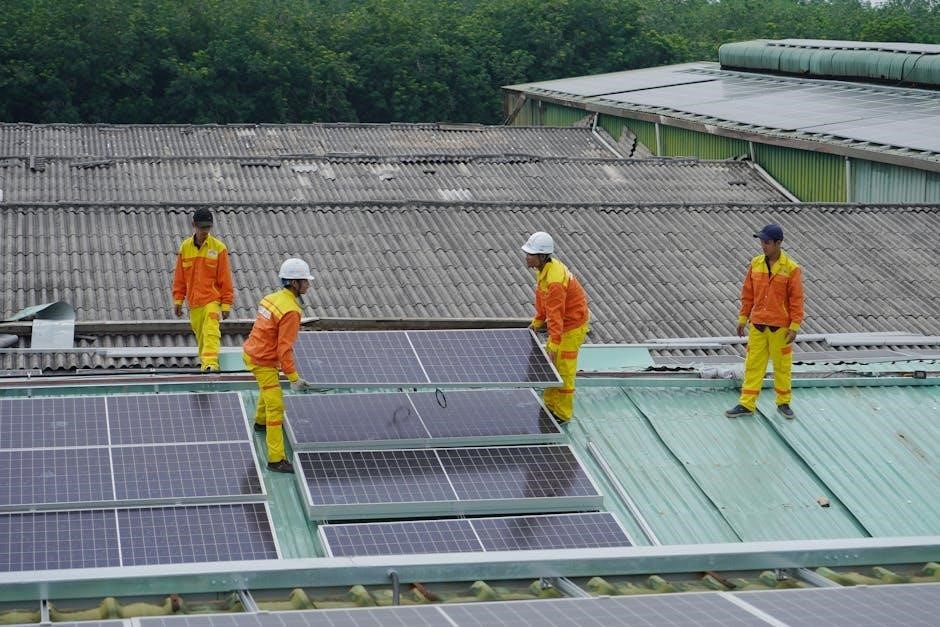
4․2 Mounting the Solar Panels
Mounting solar panels requires careful installation to ensure stability and optimal energy capture․ Secure panels to the roof or ground using durable hardware like bolts, clamps, and brackets․ Adjust the tilt and orientation to maximize sunlight exposure․ Ensure the mounting structure is level and sturdy to withstand weather conditions․ Properly seal and protect all connections to prevent water damage․ Follow manufacturer guidelines for secure and efficient installation․
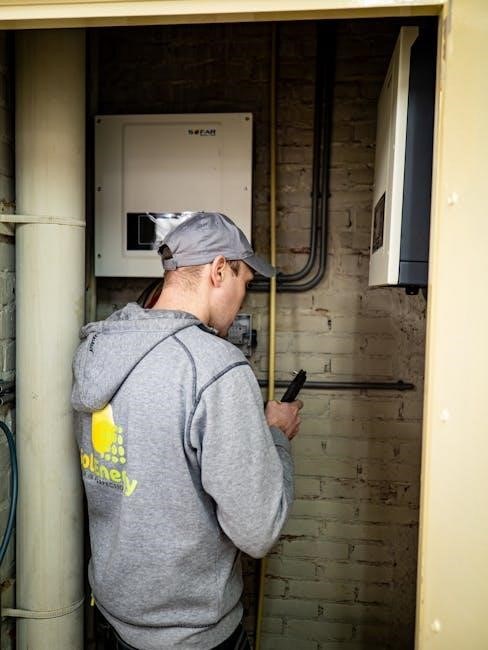
4․3 Connecting the Electrical Components
Connect solar panels to the inverter, ensuring proper wiring and polarity․ Link the inverter to the battery bank and electrical grid or backup system․ Secure all connections tightly to avoid power loss or safety risks․ Follow the wiring diagram to connect components correctly, ensuring compatibility and efficiency․ Test the system to confirm energy flows smoothly and safely from panels to the electrical load․ Always adhere to safety guidelines and local electrical codes․

Safety Precautions and Best Practices
Always wear protective gear and avoid electrical shocks․ Ensure proper grounding and follow local codes․ Regularly inspect systems to prevent hazards and maintain efficiency․ Use certified equipment;
5․1 Essential Safety Measures
When working with solar panels, always wear protective gear like gloves and safety glasses․ Ensure the system is properly grounded to prevent electrical shocks․ Avoid handling wiring or components during rainy or wet conditions․ Use non-contact voltage testers to verify power absence before starting work․ Follow manufacturer guidelines and local electrical codes strictly․ Regular inspections can help identify potential hazards early, ensuring a safe and efficient system․ Proper training is crucial for handling high-voltage components safely․
5․2 Compliance with Regulations
Compliance with local, national, and international regulations is crucial for solar installations․ Adherence to standards like NEC and IEC ensures safety and system efficiency․ Obtain necessary permits and undergo inspections to meet legal requirements․ Solar panel installation diagrams help verify that all components are correctly connected and meet regulatory standards, reducing risks and ensuring a legally compliant system․ Proper documentation is essential for approval and future maintenance․
Tools and Materials Required
Ensure essential tools include drills, screwdrivers, and multimeters․ Required materials are solar panels, mounting hardware, wiring, connectors, and safety gear like gloves and goggles․
6․1 List of Necessary Tools
The essential tools for solar panel installation include drills, impact wrenches, screwdrivers, pliers, wire cutters, multimeters, and utility knives․ Additionally, a ladder, safety harness, and level are crucial for accurate mounting․ Measuring tools like tape measures and stud finders ensure proper alignment․ Gloves, safety glasses, and a toolkit for connectors and fasteners are also necessary․ These tools help streamline the installation process, ensuring safety and efficiency․
6․2 Required Materials for Installation
The essential materials for solar panel installation include solar panels, inverters, mounting hardware, wiring, and connectors․ Batteries, charge controllers, and electrical panels are also necessary for off-grid systems․ Additionally, grounding equipment, junction boxes, and MC4 connectors ensure safe and efficient connections․ Proper materials like sealants and fasteners prevent water leakage and structural issues․ These components are crucial for a secure, durable, and high-performing solar energy system․
Maintenance and Troubleshooting
Regular maintenance ensures optimal performance of solar panels․ Cleaning panels, inspecting wiring, and monitoring system output are key tasks․ Troubleshooting involves identifying issues like faulty inverters or loose connections and addressing them promptly to maintain efficiency and safety․
7․1 Regular Maintenance Tasks
Regular maintenance is crucial for ensuring solar panel efficiency and longevity․ Key tasks include cleaning panels to remove dirt and debris, inspecting wiring for damage or wear, and monitoring system performance․ Checking inverter operation and ensuring proper connections are vital․ Additionally, trimming nearby vegetation to prevent shading and verifying battery health can optimize energy production․ Routine checks help identify and address issues early, maintaining system reliability and performance over time․
7․2 Common Issues and Solutions
Common issues with solar panel systems include faulty wiring connections, inverter malfunctions, and reduced panel efficiency due to shading or dirt buildup․ Solutions involve inspecting and tightening connections, ensuring proper inverter operation, and cleaning panels regularly․ Addressing shading by adjusting panel angles or trimming nearby vegetation can improve performance․ Additionally, checking for loose connections and verifying electrical pathways can resolve connectivity issues, ensuring optimal system functionality and energy output․
Solar panel installation diagrams are essential tools for ensuring a smooth, safe, and efficient setup of solar energy systems․ They provide clear guidance for connecting panels, inverters, and batteries, helping users avoid common issues and maximize energy output․ By following these diagrams, installers can achieve optimal performance and compliance with safety standards, making renewable energy more accessible and reliable for homes and businesses alike․
As the demand for renewable energy grows, understanding and utilizing solar panel installation diagrams will remain crucial for successful solar system implementations․ They serve as the foundation for a well-planned and executed installation, ensuring long-term efficiency and sustainability․