Welcome to the assembly manual for Beautiful by Drew Furniture, your guide to effortlessly bringing style and comfort into your home. Follow these steps to ensure a seamless assembly process and enjoy your new furniture with confidence.
Overview of the Beautiful by Drew Brand
Beautiful by Drew Furniture, inspired by Drew Barrymore, combines style, comfort, and quality for modern living. The brand offers thoughtfully designed pieces like the popular swivel accent chair, blending sophistication with practicality. Known for its durable materials and sleek aesthetics, Beautiful by Drew creates furniture that enhances home décor while prioritizing functionality. Perfect for homeowners and decorators seeking contemporary designs, the brand delivers pieces that inspire beauty and comfort in everyday spaces.
Importance of Following Assembly Instructions
Following the assembly instructions for Beautiful by Drew furniture is crucial for ensuring stability, safety, and durability. Proper assembly prevents misalignment, structural weaknesses, and potential hazards. It also helps avoid damage to components and ensures all parts fit seamlessly. By adhering to the guide, you can prevent costly repairs and ensure your furniture functions as intended. Taking the time to follow each step carefully guarantees a sturdy and long-lasting piece that enhances your home décor.
Preparation for Assembly
Begin by gathering all tools and components, ensuring a clean, flat workspace. Organize parts according to the manual and review instructions to streamline the assembly process.
Unpacking and Organizing Components
Start by carefully unpacking each component from the boxes, ensuring no parts are damaged. Lay out all pieces on a flat surface, cross-referencing them with the provided inventory list. Group similar items together, such as screws, bolts, and hardware, to avoid misplacement. Use the diagrams in the manual to identify each part accurately. This systematic approach will save time and minimize confusion during assembly, ensuring everything is ready when needed.
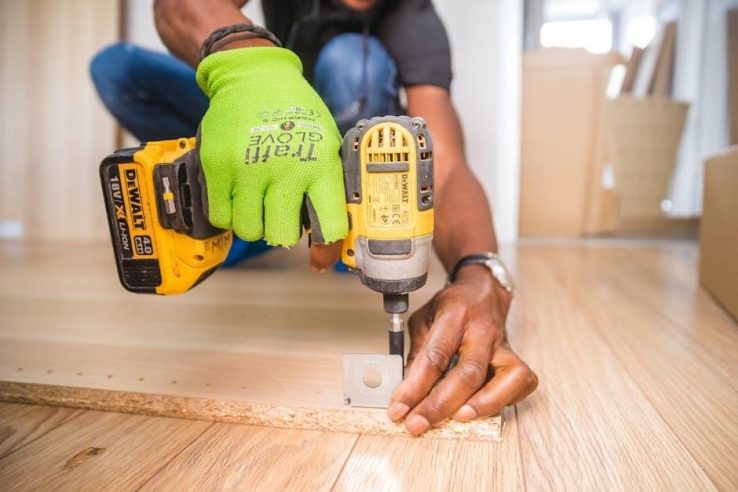
Tools and Materials Required
To assemble your Beautiful by Drew furniture, gather the necessary tools and materials beforehand. You will typically need a screwdriver (both Phillips and flathead), an Allen wrench, and possibly a rubber mallet for gently tapping parts into place. Ensure all hardware, such as screws, bolts, and dowels, is included in the packaging. Refer to the inventory list provided to verify that no parts are missing. Organize these tools and materials in a convenient workspace to streamline the assembly process and avoid delays.
Step-by-Step Assembly Process
Begin by assembling the base and legs, then attach the backrest and armrests. Finally, install the seat and cushions. Refer to the manual for detailed guidance.
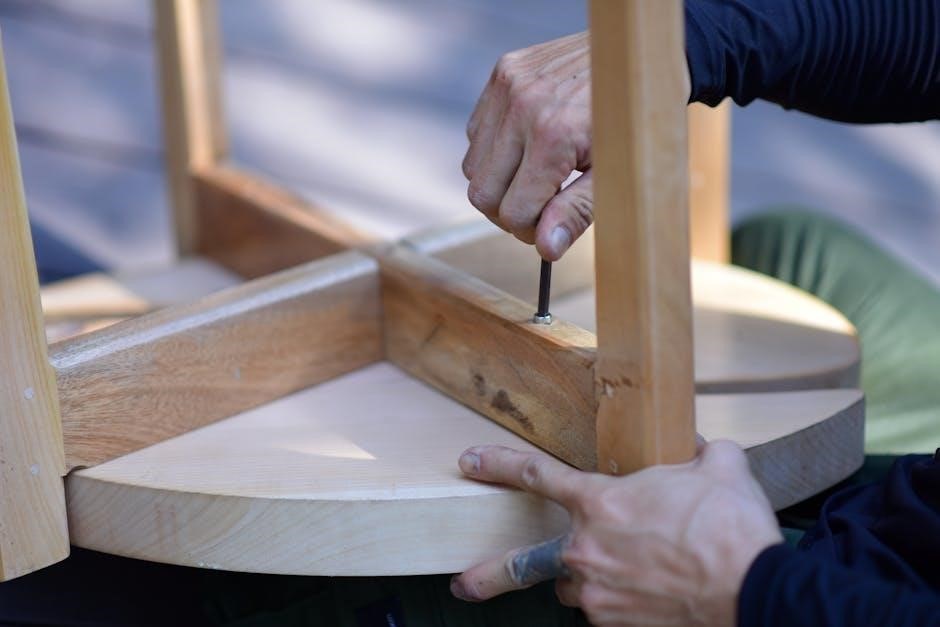
Assembling the Base and Legs
Start by unpacking the base and leg components. Align the legs with the base frame, ensuring proper fitment. Use the provided screws to secure the legs tightly. Next, attach the stabilizing brackets to the base for added durability. Make sure all connections are snug and even. Double-check the alignment to avoid wobbling. Once the base and legs are assembled, proceed to the next step with confidence. Refer to the manual for specific screw locations and torque recommendations.
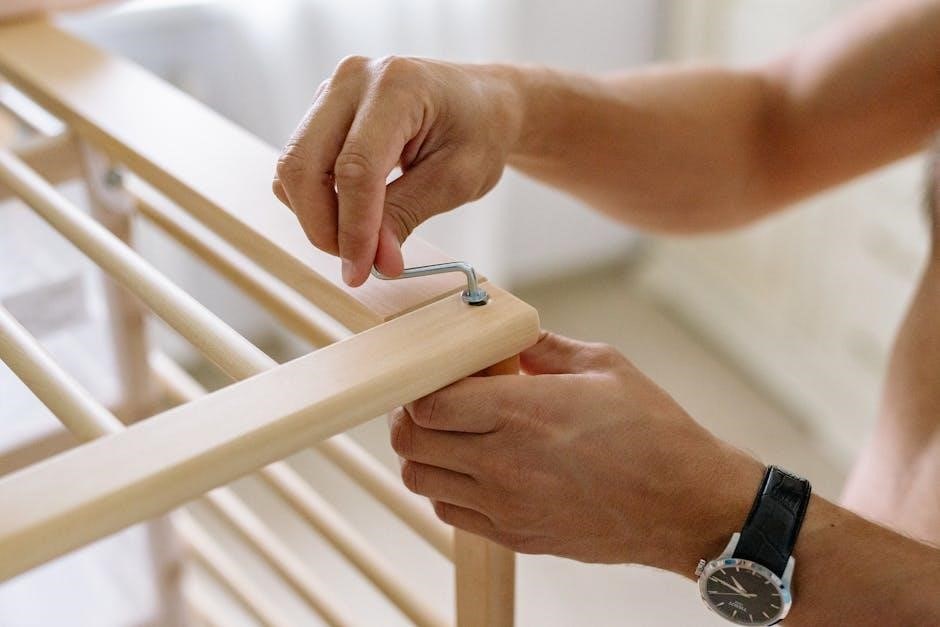
Attaching the Backrest and Armrests

Begin by aligning the backrest with the base frame, ensuring the pre-drilled holes match. Secure it using the provided bolts and an Allen wrench. Tighten firmly but avoid overtightening. Next, attach the armrests to the sides of the chair. Use the smaller screws for this step. Make sure the armrests are level and evenly spaced. Once attached, gently rock the chair to ensure stability. If needed, adjust the alignment for a perfect fit. Refer to the manual for specific bolt sizes and torque recommendations to prevent damage.
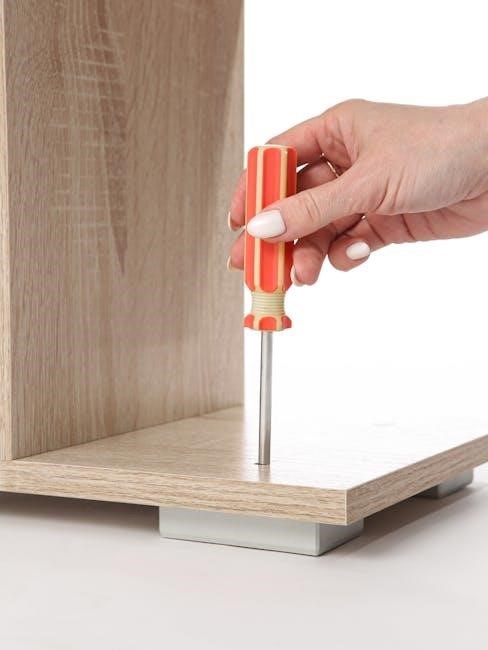
Installing the Seat and Cushions
Place the seat frame onto the assembled base, aligning the pre-drilled holes. Secure it using the provided screws and an Allen wrench; Tighten evenly to ensure stability. Next, attach the cushions to the seat frame using the Velcro strips or screws, depending on the design. Gently press or screw them into place, ensuring they fit snugly. Double-check the alignment and tightness. Finally, test the seat by applying gentle pressure to ensure it is sturdy and even. Refer to the manual for specific cushion attachment methods and torque guidelines.
Tips for Troubleshooting Common Issues
Identify alignment problems early and double-check connections. If parts feel loose, tighten screws evenly. For missing items, review the component list or contact customer support.
Identifying and Solving Alignment Problems

Alignment issues can arise during assembly, causing unevenness or instability. Start by verifying that all components are properly aligned according to the instructions. Check for gaps or misfits between parts. If a section feels uneven, disassemble and reattach, ensuring screws are tightened evenly. Use a level tool to confirm balance. For persistent issues, refer to the troubleshooting section or contact customer support for assistance. Proper alignment is crucial for both functionality and aesthetics, so take your time to address any discrepancies early on.
Dealing with Missing or Damaged Parts
If you discover any missing or damaged components during assembly, stop immediately and inspect the entire package. Double-check the inventory list provided in the manual. For missing parts, contact Beautiful by Drew customer support with your order number and a detailed description. For damaged parts, provide photos for verification. Replacement parts are typically dispatched promptly. Avoid proceeding with assembly until all issues are resolved, as this could compromise the furniture’s stability or functionality. Proper support is available to ensure your assembly experience remains smooth and hassle-free.
Safety Guidelines and Precautions
Always wear protective gloves and eyewear during assembly. Ensure a stable work environment and avoid over-tightening parts. Keep children away from tools and components. Follow manual instructions carefully to prevent damage or injury, ensuring a safe and successful assembly process.
Avoiding Damage to Components
To prevent damage, handle all parts with care and avoid dropping or applying excessive force. Use protective coverings on work surfaces and ensure components are aligned properly before tightening. Avoid over-tightening screws, as this may strip threads or crack surfaces. Use tools appropriate for the task to prevent scratching or bending. Store small parts in a safe place to avoid loss. Regularly inspect components for defects before assembly. Follow torque specifications and avoid using power tools at high speeds, which can damage delicate materials. Always refer to the manual for specific care instructions.
Ensuring Stability and Balance
Ensure your furniture is stable and balanced by assembling it on a level surface. Verify all legs and bases are evenly aligned and securely attached. Tighten all bolts and screws firmly, but avoid over-tightening, which may cause warping. Use a spirit level to confirm the surface is even. Distribute weight evenly across the furniture to prevent tipping. Double-check all connections to ensure they are snug and properly aligned. This will ensure your furniture remains stable and safe to use, providing long-lasting durability and comfort.
Final Inspection and Quality Check
Conduct a thorough inspection to ensure all components are securely attached and properly aligned. Test the furniture for stability and verify that all connections are tight and even.
Verifying All Connections
After assembling your furniture, carefully inspect all connections to ensure they are secure and properly aligned. Check that all bolts, screws, and fasteners are tightened firmly but avoid over-tightening, which could damage the components; Use the Allen wrench provided to test the tightness of any hexagonal bolts. Inspect the joints and hinges for any signs of wear or misalignment. If any part feels loose or unstable, tighten it according to the instructions in the manual. This step is crucial for ensuring the durability and safety of your furniture.

Testing the Furniture for Stability
Once assembled, test the furniture’s stability by gently applying pressure to different areas. Ensure the base is even and all legs are firmly in contact with the floor. Check for any wobbling or unevenness by lightly rocking the piece from side to side. If instability is detected, tighten any loose connections or adjust the leveling feet, if applicable. Repeat this process for chairs, tables, or multi-piece sets to confirm overall balance and structural integrity. A stable piece ensures safety and long-term durability.
Congratulations on assembling your Beautiful by Drew furniture! Regular cleaning and inspections ensure longevity. Enjoy your stylish, durable piece for years to come.
Caring for Your Newly Assembled Furniture
Regular maintenance ensures your Beautiful by Drew furniture remains in pristine condition. Clean surfaces with a soft cloth and mild detergent, avoiding harsh chemicals. Inspect joints and connections periodically to ensure stability. Protect fabrics and finishes with appropriate care products; Avoid placing heavy objects or exposure to direct sunlight. For upholstery, vacuum regularly and spot clean spills immediately. Follow these tips to preserve the beauty and durability of your furniture, ensuring it remains a stylish and functional part of your home for years.
Warranty and Customer Support Information
Your Beautiful by Drew furniture is backed by a limited warranty covering manufacturing defects for a specified period. For inquiries or assistance, contact customer support via phone or email. Visit the official website for detailed warranty terms, FAQs, and downloadable resources. Register your product to ensure warranty validity and access exclusive support services. Beautiful by Drew is committed to providing exceptional customer care to ensure your satisfaction and the longevity of your furniture.