Tour du Mont Blanc Self-Guided Trekking: A Comprehensive Plan
Embarking on a self-guided Tour du Mont Blanc adventure requires meticulous planning, costing between £826 and £1500 per person.
Several operators, like FlashpackerConnect and Monkeys and Mountains, offer customizable packages, while independent planning demands significant time investment.
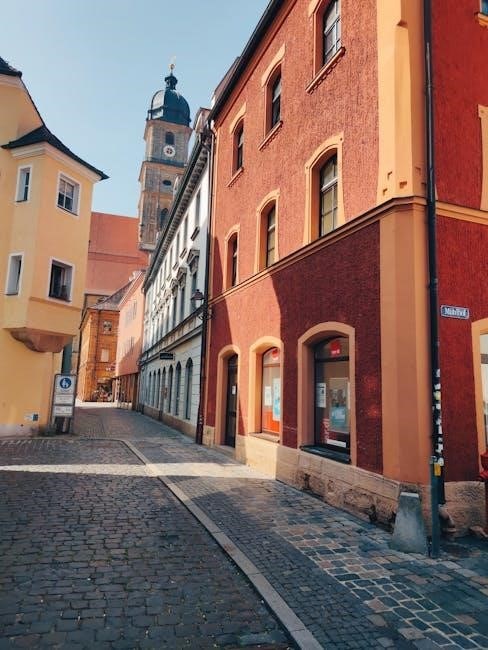
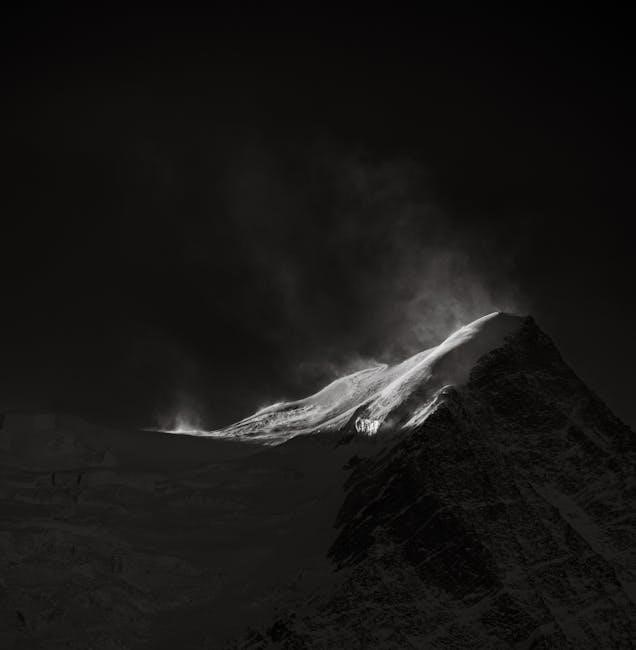
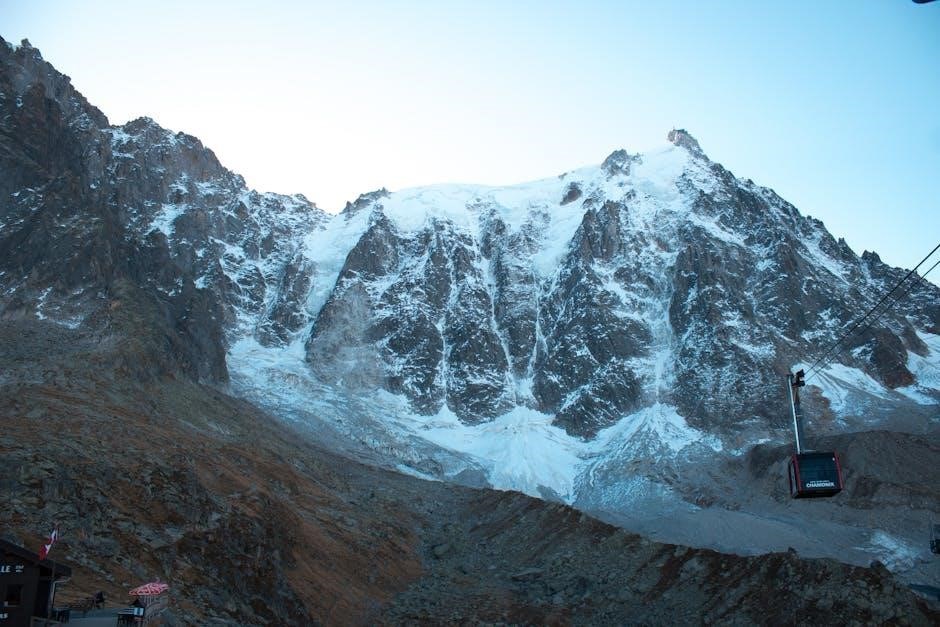
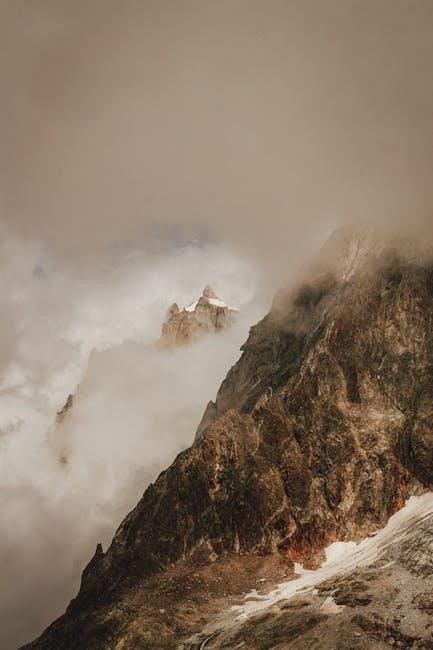
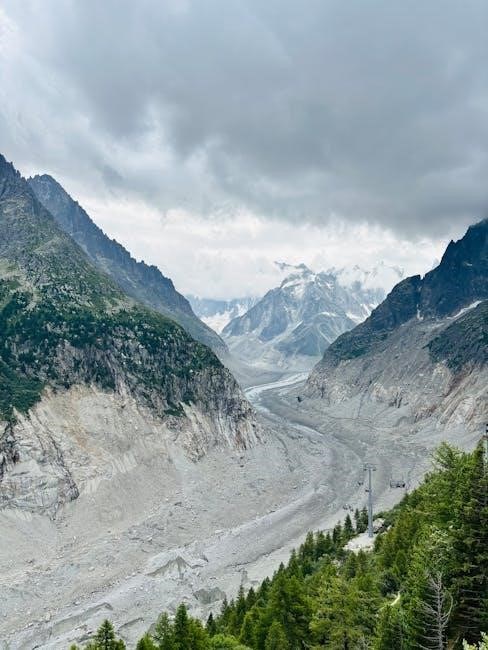
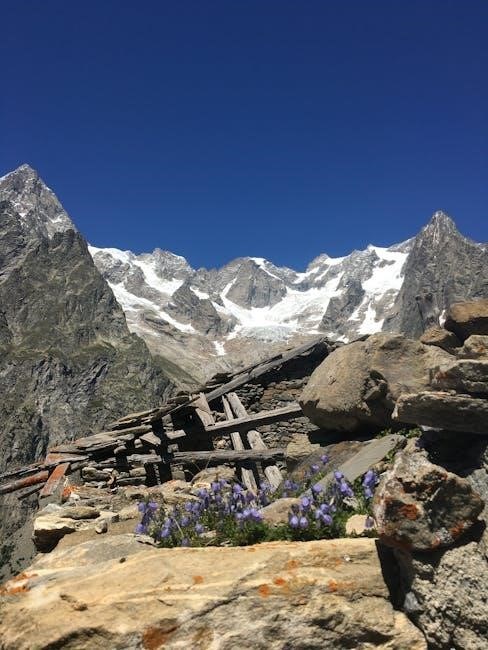
The Tour du Mont Blanc (TMB) is a legendary multi-day hiking trail circling the Mont Blanc massif, traversing through France, Italy, and Switzerland. This iconic route attracts adventurers globally, offering breathtaking alpine scenery, charming villages, and a challenging yet rewarding experience.
While traditionally tackled with guided groups, an increasing number of hikers opt for a self-guided TMB trek, embracing independence and flexibility. This approach allows you to explore at your own pace, tailoring the journey to your fitness level and preferences. However, successful self-guided trekking necessitates thorough preparation, including route planning, accommodation booking, and logistical considerations.
The TMB typically spans 100-170 kilometers (62-106 miles) with around 8,000-10,000 meters (26,000-33,000 feet) of ascent and descent. Popular durations range from 6 to 10 days, depending on your chosen route and daily mileage. The trail’s popularity means booking accommodations, especially refuges, well in advance is crucial, particularly during peak season.
What is a Self-Guided Trek?
A self-guided trek differs significantly from a traditional guided tour. Instead of relying on a group leader and pre-arranged logistics, you navigate the trail independently, utilizing pre-booked accommodations and detailed route information. This empowers you to control your itinerary, pace, and overall experience.
For the Tour du Mont Blanc, a self-guided approach typically involves purchasing route notes, maps, and potentially luggage transfer services from specialized tour operators like FlashpackerConnect or Monkeys and Mountains. These resources provide detailed stage descriptions, elevation profiles, and points of interest.
Crucially, self-guided doesn’t mean completely unsupported. Many operators offer assistance with accommodation booking, emergency support, and even luggage transport between stages, allowing you to hike with a lighter pack. However, the responsibility for navigation, decision-making, and daily logistics rests with you. It requires a higher degree of self-reliance and preparation than a fully guided experience, but offers unparalleled freedom and a sense of accomplishment.
Benefits of a Self-Guided Tour
Opting for a self-guided Tour du Mont Blanc unlocks a wealth of advantages for the independent adventurer. The primary benefit is freedom – you dictate your pace, linger at scenic viewpoints, and adjust your itinerary based on your preferences. Unlike guided tours, you aren’t bound by a group’s schedule or interests.
Cost savings are another significant perk. While a self-guided version can range from £826 to around £1400, it’s often more affordable than fully guided options. You also gain a deeper, more immersive experience, fostering a stronger connection with the landscape and local culture.
Furthermore, self-guided treks encourage self-reliance and problem-solving skills. Operators like Alpine Exploratory offer support, but ultimately, you’re responsible for navigating and making decisions. This builds confidence and provides a uniquely rewarding sense of accomplishment. However, be aware that solo trekkers may face availability limitations, as some operators don’t accept bookings for individuals.
Planning Your Self-Guided TMB Adventure
Successful self-guided TMB trekking hinges on detailed preparation. Budgeting, duration selection (6, 7, or 10 days), and timing are crucial, alongside fitness and gear considerations.
Determining Your Budget
Budgeting for a self-guided Tour du Mont Blanc trek is a critical first step. Costs can vary significantly based on your choices. A completely independent plan could cost around £826, utilizing The Hiking Club’s cost calculator based on customer itineraries. However, opting for a self-guided package from operators like FlashpackerConnect or Monkeys and Mountains typically ranges from £1400 upwards per person.
Consider these key expense categories. Accommodation, whether in refuges (around $50/night), gites, or hotels, will be a substantial portion. Food and drink costs depend on whether you self-cater or dine at refuges. Transportation, including getting to/from the trailhead and potential stage transfers, also needs factoring in. Some sources estimate a daily cost of $50-75 USD for a self-guided hike, potentially totaling around $1500 USD. Remember that solo trekkers may face availability limitations and potentially higher costs.
Careful planning and utilizing available resources will help you create a realistic budget for your TMB adventure.
Estimated Costs: Accommodation
Accommodation represents a significant portion of your Tour du Mont Blanc budget, with options ranging widely in price and comfort. Mountain refuges (also known as huts) are the most common choice, typically costing around $50 USD per night, which includes breakfast. These offer a basic, communal experience, requiring reservations well in advance, especially during peak season;
Gites, privately-owned mountain huts, provide a slightly more comfortable alternative, often at a similar price point. Hotels and guesthouses in valley towns offer greater privacy and amenities but come at a higher cost, potentially exceeding $100 USD per night.
Expect to spend between $500 and $700 USD for accommodation over a 10-day trek, depending on your preferences. Remember that prices can fluctuate based on location, season, and demand. Pre-booking is highly recommended to secure your preferred lodging and avoid disappointment, particularly for popular refuges along the route.
Estimated Costs: Food & Drink
Budgeting for food and drink on the Tour du Mont Blanc is crucial, as options can be limited and expensive at higher altitudes. While refuges typically offer dinner and sometimes lunch, these meals can add up quickly, costing around $25-$40 USD per meal. Purchasing groceries in valley towns before ascending is a cost-effective strategy.
Simple breakfasts can be prepared with supplies carried in your backpack, and packed lunches are essential for long hiking days. Expect to spend approximately $30-$50 USD per day on food and drinks, depending on your dining choices and consumption of beverages.
Water is generally available from mountain streams, but purification tablets or a filter are recommended. Factor in costs for snacks, energy bars, and occasional treats to keep your energy levels up. Remember that prices in refuges are inflated due to logistical challenges, so self-catering where possible will significantly reduce your expenses.
Estimated Costs: Transportation
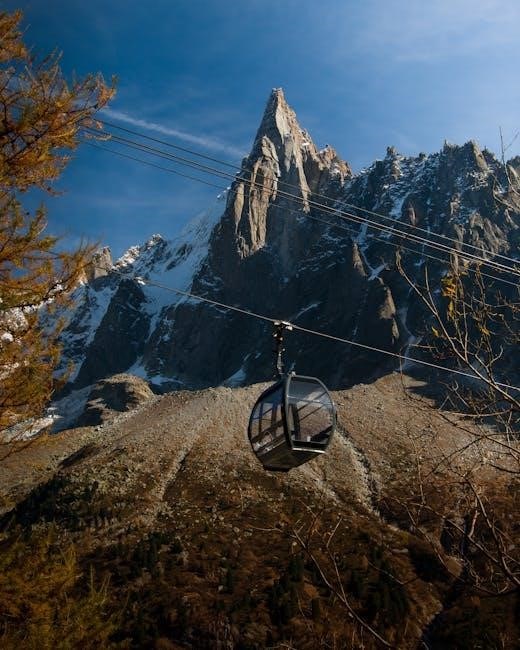
Transportation costs for the Tour du Mont Blanc vary significantly depending on your starting and ending points, and chosen methods. Getting to and from the trailhead, typically Chamonix, Les Houches, or Courmayeur, requires consideration. Flights to Geneva are common, followed by bus or train transfers.
Budget approximately $100-$300 USD for transportation, encompassing airport transfers, bus fares between towns, and potentially cable car rides for route access. The Mont Blanc Express bus is a popular option, connecting key locations. Internal travel between stages may involve local buses or taxis, adding to the overall cost.
Consider the cost of returning to your departure airport. Pre-booking transportation, especially during peak season, is advisable. Some self-guided tour operators offer baggage transfer services between stages for an additional fee, simplifying logistics but increasing expenses. Factor in potential costs for parking if driving to the trailhead.
Choosing Your Trek Duration (6, 7, or 10 Days)
The Tour du Mont Blanc’s duration is flexible, commonly offered as 6, 7, or 10-day treks, each catering to different fitness levels and time constraints. A 10-day itinerary provides a more relaxed pace, allowing for acclimatization and exploration of side trails, like the scenic diversion to Lac Blanc. This extended duration is ideal for those wanting a comprehensive experience.
A 7-day trek is a popular compromise, demanding good fitness but offering a manageable challenge. It requires covering longer distances daily, potentially skipping some optional loops. The 6-day option is the most demanding, suited for experienced hikers in peak condition, prioritizing speed and efficiency.
Consider your experience and desired level of comfort when selecting a duration. Shorter treks may necessitate pre-booked accommodations due to limited availability. Longer treks offer greater flexibility but require careful planning of stages and rest days.
Best Time to Hike the Tour du Mont Blanc
The optimal period for hiking the Tour du Mont Blanc is typically from mid-June to mid-September, coinciding with warmer temperatures and reduced snow cover at higher altitudes. July and August represent peak season, offering the most reliable weather but also the highest crowds and accommodation prices.
June can be beautiful, with wildflowers in bloom, but some passes may still have lingering snow, requiring appropriate gear and experience. September provides quieter trails and pleasant temperatures, though some refuges may begin to close towards the end of the month.
Avoid hiking outside these months due to unpredictable weather, potential snowstorms, and limited refuge availability. Always check weather forecasts before and during your trek, as conditions can change rapidly in the mountains. Be prepared for all types of weather, even during peak season.
Essential Preparations
Prior fitness training is crucial for the TMB’s demanding terrain. A comprehensive gear checklist, including sturdy boots and layers, is vital.
Consider refuge, gite, or hotel accommodation options for your journey.
Fitness Training for the TMB
Preparing physically for the Tour du Mont Blanc is paramount, as the trek presents significant challenges. The trail involves substantial elevation gain and loss, demanding excellent cardiovascular fitness and leg strength. Begin training several months in advance, gradually increasing intensity and duration.
Focus on activities that mimic the demands of hiking, such as hill walking, stair climbing, and long-distance trekking with a weighted backpack. Incorporate strength training exercises targeting your legs, core, and back to build endurance and prevent injuries. Regular cardio workouts, like running or cycling, will improve your stamina.
Aim to comfortably hike for several consecutive days with a fully loaded pack before embarking on the TMB. Don’t underestimate the importance of breaking in your hiking boots to avoid blisters. Consider including interval training to enhance your ability to handle steep ascents. Remember to listen to your body and allow for adequate rest and recovery.
Gear Checklist: What to Pack
A well-considered packing list is crucial for a comfortable and safe Tour du Mont Blanc experience. Prioritize lightweight, durable gear. Essential items include a comfortable, broken-in pair of hiking boots, moisture-wicking socks, and layered clothing for varying weather conditions – think thermal base layers, fleece, and a waterproof jacket and trousers.
A backpack (40-50 liters) is necessary, along with a sleeping bag liner for refuge stays. Trekking poles significantly aid stability and reduce strain on your knees. Don’t forget a headlamp, sunscreen, sunglasses, and a hat. A first-aid kit with blister treatment is vital.
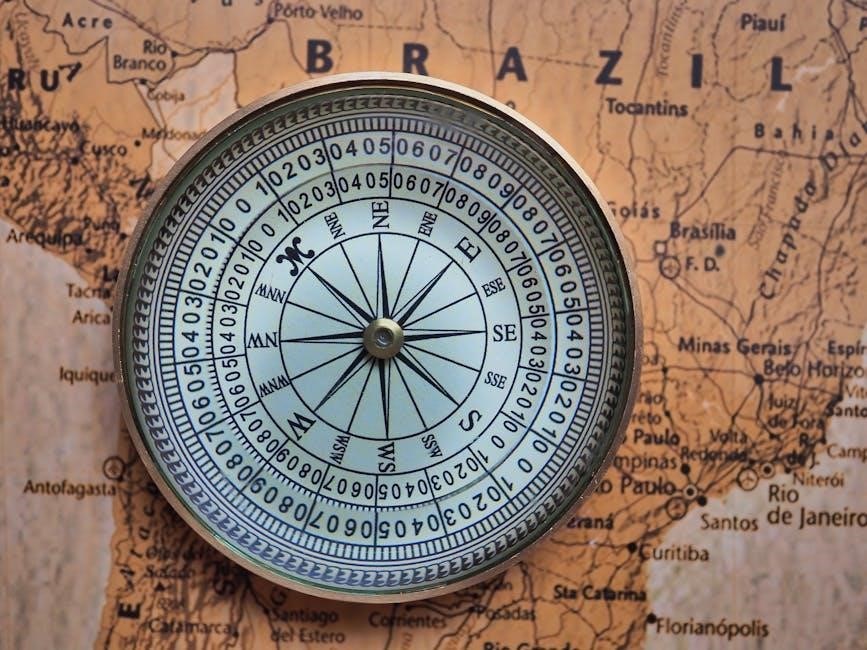
Navigation tools like maps and a compass (or GPS device) are essential, alongside a reusable water bottle or hydration reservoir. Pack high-energy snacks, a lightweight towel, and personal toiletries. Consider bringing a portable charger for electronic devices. Remember to pack only what you need to minimize weight.
Accommodation Options: Refuges vs. Gites vs. Hotels
Choosing your accommodation significantly impacts your Tour du Mont Blanc experience and budget. Mountain refuges are the most iconic option, offering dormitory-style sleeping arrangements and basic facilities, typically including breakfast and dinner. Booking well in advance is essential, especially during peak season.
Gites provide a more private and often cheaper alternative, usually offering simple rooms or dorms. They generally don’t include meals, requiring self-catering or dining at local restaurants. Hotels, found in valley towns, offer the most comfort but are the most expensive and necessitate daily ascents/descents to rejoin the trail.
Costs vary considerably: refuges around $50 USD per night, gites potentially less, and hotels significantly more. A self-guided hike can range from $50-75 USD per day, totaling around $1500 USD, factoring in refuge costs. Consider a mix of options to balance comfort and budget.
Navigating the Trail
Successful TMB navigation relies on detailed route planning and maps. Stage divisions are crucial, and be prepared for challenging sections like the Lac Blanc ascent, often involving ladders.
Route Planning & Maps
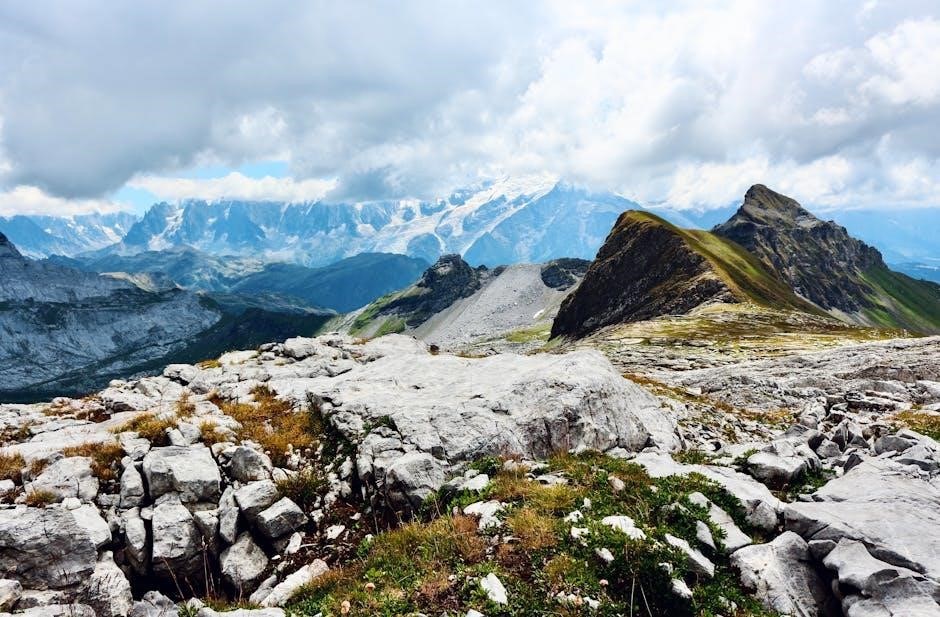
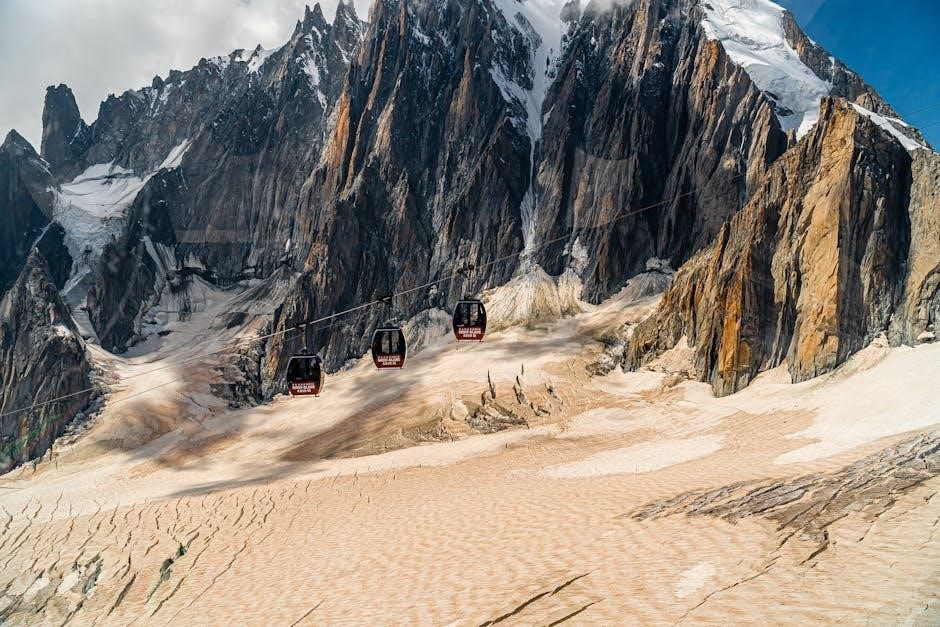
Detailed route planning is paramount for a successful self-guided Tour du Mont Blanc trek. The generally accepted TMB route offers a fantastic experience, but incorporating scenic diversions, such as the ascent to Lac Blanc for breathtaking views of Mont Blanc, enhances the journey. Utilizing high-quality topographic maps is essential; digital maps on smartphones or dedicated GPS devices are highly recommended, but always carry a physical map and compass as backup.
Several resources can aid in route planning. Tour operators like Alpine Exploratory provide routecards, though independent hikers will need to create their own itinerary. Consider the stage divisions carefully, factoring in elevation gain, distance, and accommodation availability. Pre-booking refuges and gites is strongly advised, especially during peak season. Familiarize yourself with the trail markings – typically red and white blazes – and practice map reading skills before your trek. Remember that conditions can change rapidly in the mountains, so be prepared to adjust your plans if necessary.
Understanding Stage Divisions
The Tour du Mont Blanc is typically completed over 6, 7, or 10 days, influencing daily stage lengths and difficulty. A 10-day itinerary allows for more leisurely hiking and greater flexibility, while a 6-day trek demands significant fitness and longer daily distances. Common stage divisions involve traversing between villages like Les Houches, Courmayeur, Champex-Lac, and Argentière, with each stage presenting unique challenges.
Average daily distances range from 10 to 18 kilometers (6 to 11 miles), with elevation gains often exceeding 800 meters (2600 feet). Carefully assess your fitness level and experience when choosing stage divisions. Some stages, like the ascent to Lac Blanc, involve steep climbs and require good stamina. Pre-booking accommodation at refuges or gites along the route is crucial, as availability can be limited, particularly during peak season. Consider incorporating rest days into your itinerary to allow for recovery and exploration of the charming alpine villages.
Dealing with Challenging Sections (e.g., Lac Blanc Ascent)
Certain sections of the Tour du Mont Blanc present significant challenges, demanding preparation and caution. The ascent to Lac Blanc, famed for its stunning views of Mont Blanc, is particularly strenuous, involving steep, rocky terrain and even ladders in some areas. Proper footwear is essential, alongside trekking poles for stability and reduced strain on your knees.
Pace yourself during challenging ascents, taking frequent breaks to hydrate and refuel. Be aware of weather conditions, as visibility can rapidly deteriorate at higher altitudes. If you’re uncomfortable with heights or exposed sections, consider alternative routes or utilizing a guided option for these stages. Alpine Exploratory notes the presence of ladders on this ascent.
Ensure you have appropriate layers of clothing to adapt to changing temperatures. Prioritize safety and don’t hesitate to turn back if conditions become unsafe.

Resources & Support
Numerous resources aid self-guided TMB trekkers. Companies like FlashpackerConnect, Monkeys and Mountains, and Alpine Exploratory offer support.
The Hiking Club’s cost calculator assists planning, while solo trekkers should note availability limitations.
Recommended Tour Operators (FlashpackerConnect, Monkeys and Mountains, Alpine Exploratory)
Several tour operators specialize in self-guided Tour du Mont Blanc treks, offering varying levels of support and customization. FlashpackerConnect stands out with its strong local operation, providing both self-guided and guided options, and the ability to fully customize your trek to suit your preferences. They are a highly recommended choice for a personalized experience.
Monkeys and Mountains Hiking Tours also provides self-guided Tour du Mont Blanc packages, available in 6, 7, or 10-day formats, catering to different fitness levels and time constraints. Their expertise ensures a well-planned and enjoyable journey.
Alpine Exploratory offers comprehensive self-guided options, but currently does not accept bookings for solo walkers on these trips. However, they do have availability on their guided tours, which might be a suitable alternative for those trekking alone. They highlight scenic diversions, such as the ascent to Lac Blanc, in their routecards, enhancing the overall experience.
Choosing the right operator depends on your individual needs and preferences, but these three companies consistently receive positive reviews for their organization, support, and route knowledge.
Utilizing Online Cost Calculators (The Hiking Club)
Accurately budgeting for a self-guided Tour du Mont Blanc trek can be challenging, but resources like The Hiking Club offer valuable assistance. Their online cost calculator is a powerful tool, leveraging data from over 300 actual customer itineraries and 2023 costs from nearly 100 accommodation providers.
This calculator provides a realistic estimate of expenses, helping you understand the potential financial commitment involved. It considers factors like accommodation choices (refuges, gites, hotels), food and drink costs, and transportation needs, allowing for a tailored budget projection.
According to The Hiking Club’s calculations, planning a 10-day hike independently can cost around £826. However, this figure is an estimate and can vary significantly based on your spending habits and preferences. Utilizing the calculator allows you to adjust these variables and refine your budget accordingly.
By inputting your specific requirements, you can gain a clearer understanding of the financial implications of a self-guided TMB trek, ensuring a well-planned and affordable adventure.
Solo Trekking Considerations (Availability limitations)
Embarking on a self-guided Tour du Mont Blanc as a solo trekker presents unique challenges, particularly regarding accommodation availability. Several tour operators, such as Alpine Exploratory, explicitly state they do not accept bookings for solo walkers on self-guided trips;
This limitation stems from the high demand for refuge and gite beds, often prioritized for groups or those booking through organized tours. Solo travelers may find it difficult to secure accommodation, especially during peak season, due to limited spaces and pre-booked reservations.
If you are determined to trek solo, extensive advance planning and flexibility are crucial. You may need to be prepared to adjust your itinerary or consider alternative accommodation options, such as camping (where permitted) or staying in hotels in valley towns.
Alpine Exploratory, while not accepting solo self-guided bookings, does offer guided trips which are available to solo travelers. This provides a viable alternative for those seeking a solo experience with logistical support and guaranteed accommodation.